The biggest project I handled this year has to be the girls bedroom makeover on a budget that I designed for my daughter!
It was huuuuuuuuge!!
It took me ages!!! It was mostly DIY and on a budget!
It was super fuuuuun!!! I got over some insane amount of design fears!!!
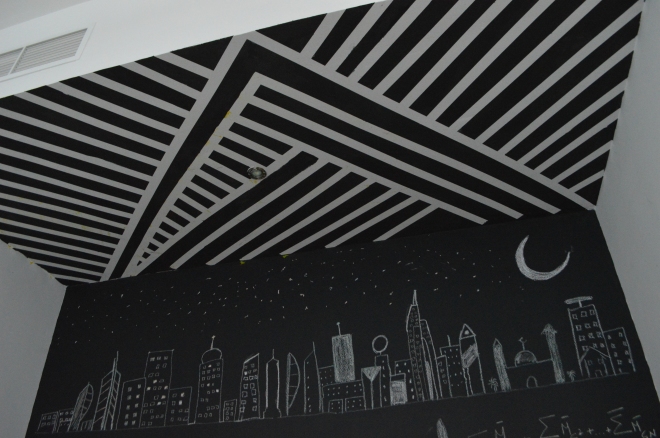
I mean its no small feat to take a place from this
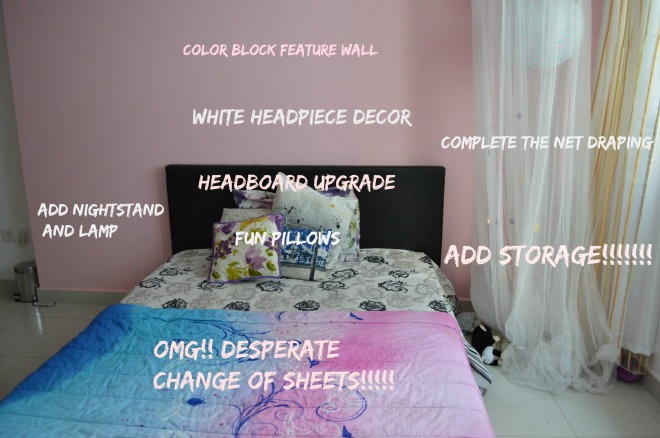
To this


Here is how I did it!!!
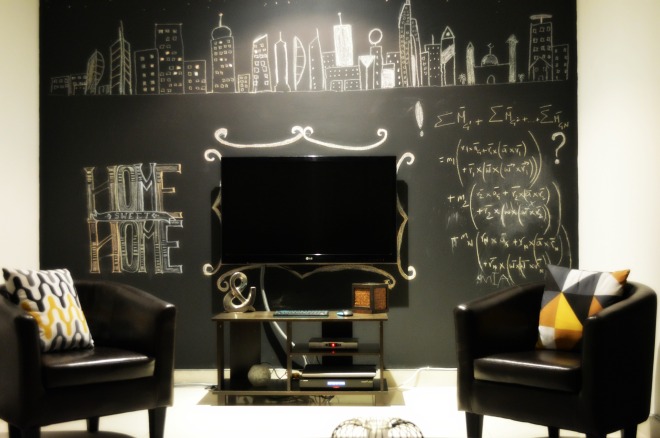
Inspirtaion:
Here is the list of inspirtions that I went through!! I went through about a bazillion images (mostly on pinterest coz we love binging on that;) ) But I mean bazilllllllion!!!!!
Moodboard:
Ofcourse I was overwhelmed!!! Surrounding yourself with information does that to you. So you need to fine those skills by designing a moodboard.

This is the mood board that I designed for the room!!! You can read more about it here!
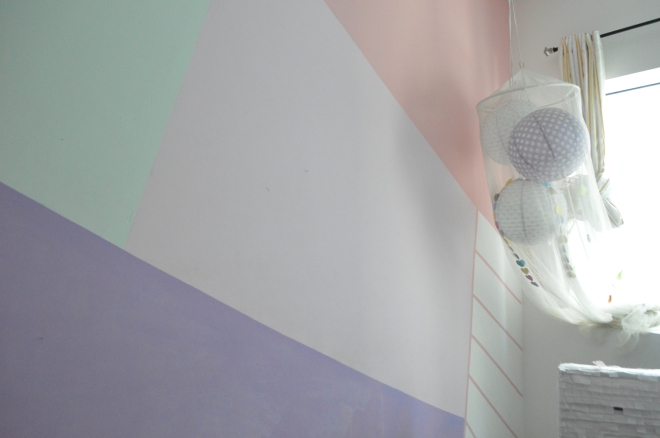
Feature wall:
The first step of the transformation process was the feature wall!!!!

I chose a simple but gorgeous color block wall. I went from the fear of paint to the height of numbness to mastering the mixing and spinning the rollers in a matter of four months!!!!!! I took me a while! But I am proud to say I did it!!!! I got over my fear of paint and I nailed a gorgeous wall for my daughter!!!
You can read about the whole process here!
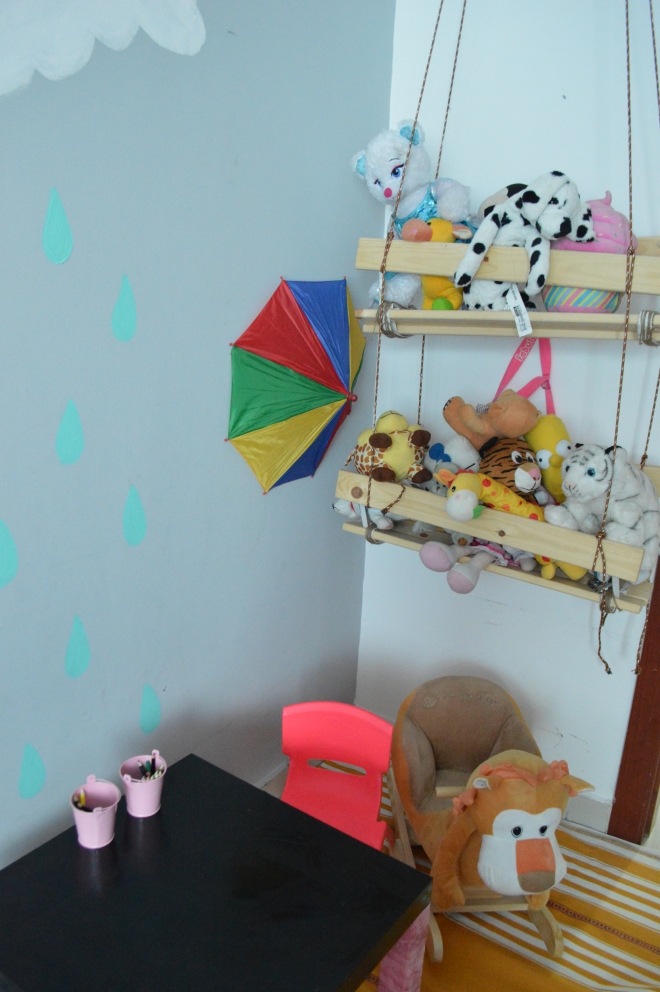
DIYs:
It was a budget makeover so It was fuuuuuuulllllll of DIYs. From the simple transformations such as covering the toy boxes with chevron boxes or painting a simple tv trolly to act as a side table to the more advanced Ikea furniture hacks.
The entire lsit of DIYs would be:
The tutu wall hanging
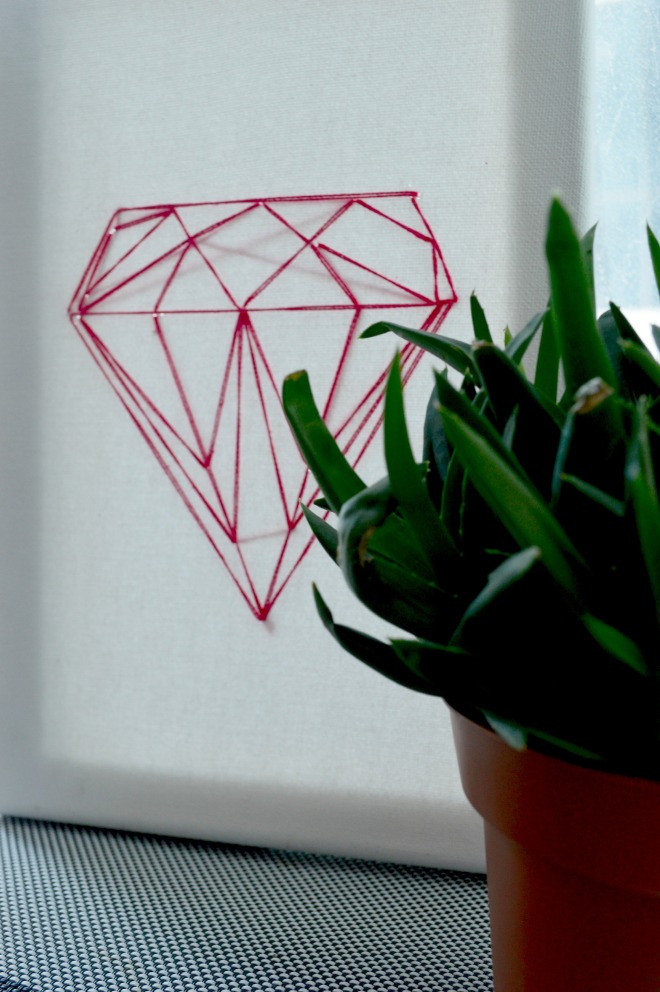
The DIY canvas light art
The cloud Decal
The toy swing
The ikea marbled dresser
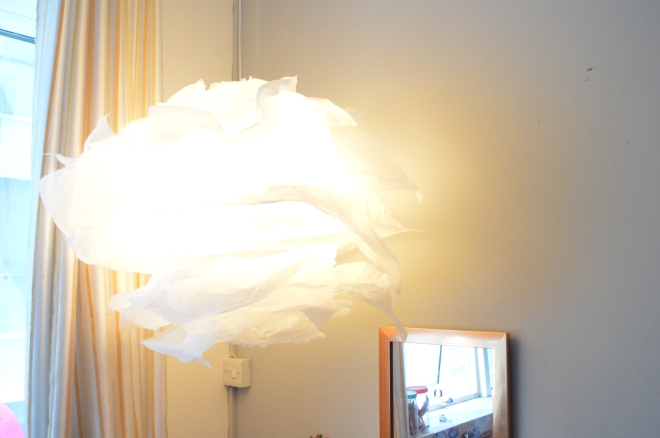
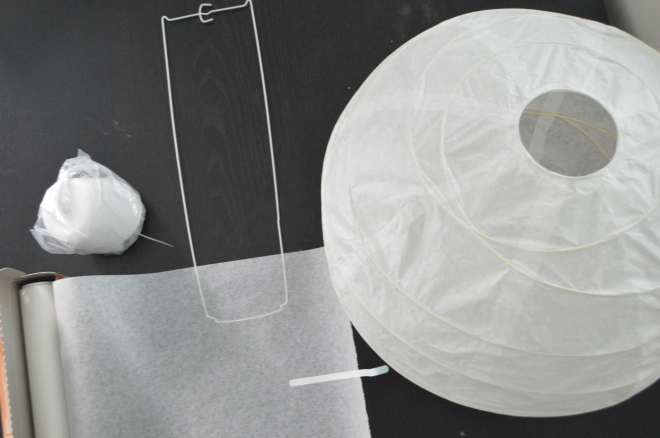
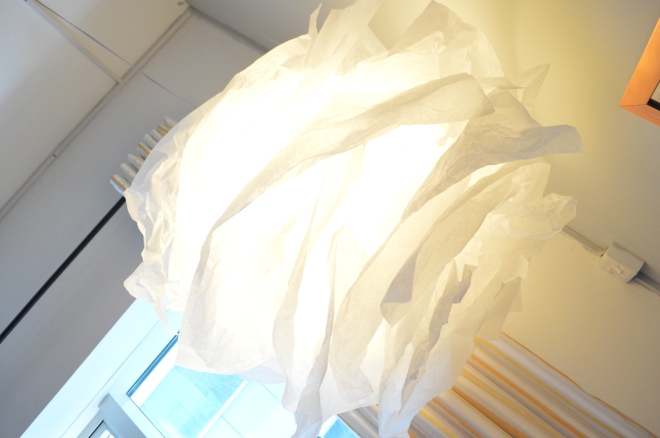
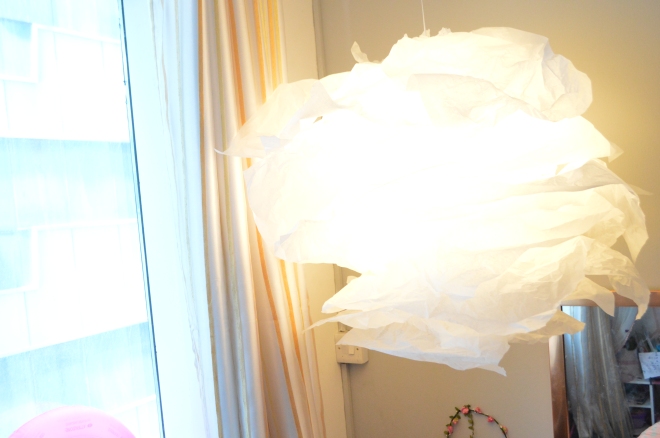
The DIY ikea chandelier
The DIY headboard
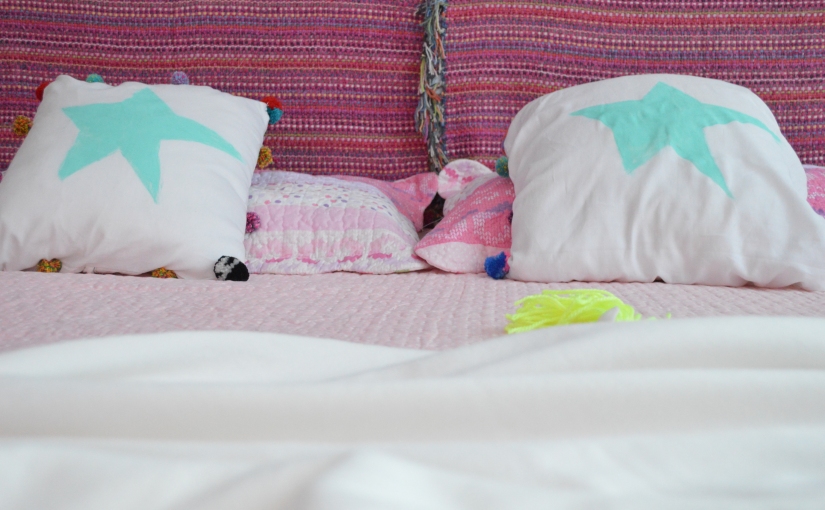
The DIY mint star pillows with pom poms
The DIY ikea ribbon table
The DIY tassel throw
The DIY dream catcher
Whewwww!!!
It was allllot of DIYs
Favourite DIYs:
My favourite DIY has to be the Ikea marbled dresser!!! It tuned out gorgeous!!! Was super easy and is still intact and gorgeous!
Least favourite DIY:
That would be the toy swing!!! It was uneven! Took insane amount of time and most of the time it would look like clutter hagning than cute!
Well executed DIY:
Well the most well executed award goes to The Light art canvas!!! I got allllot of compliments for that and allot of requests for it as well. I have to say the first time I attempted it was a total flop!!! Wasted the entire canvas. And I am so glad to say I went for it again!! And what a beauty it turned out to be!!
Shopping:
Lets skip the running around town for the perfect nitty gritty things I collected over time! But when you are budget designing its always a good idea to survey the market and zero down on the perfect items than something youd compromise on and regret later!
So alllllllot of surveying went into the perfect collection attempts.
Shoot:
It took me two whole days to put everything together!!!! And in its place!!!!
Reveal:
I am sooooo glad to announce the ROOM REVEAL!!!!!!! FINALLLYYY!!!!!
Here is the room reveal day 1
And room reveal day 2
You can read the entire post here and here!!!
The amount of time and effort to work on this makeover is nothing when I heard my daughter screeeeeeaaaaam and squeeeeeel with excitement when she saw the complete look!!!!!!
I think that day my feet didn’t touch the ground! 🙂
All that hardwork paid off!!
I hope you enjoyed this post of my room décor adventure!! And inspired too!!!! Maybe a little!!! I would love to hear your thoughts and opinions about them! And of course would love to hear about your adventures with décor! Feel free to add in comments below!!!
Have a fantastic day and a gorgeous year!!!